


Making a table on the famous hairpin legs is the perfect way to add elegance and lightness to any interior, while maintaining a unique industrial character. Hairpin legs have become extremely popular for DIY (Do It Yourself) projects thanks to their minimalist form and sturdiness. We will show you how to use hairpin legs sets to create a unique table yourself, which will become the focal point of your interior.
Why choose hairpin legs?
Before we get to the instructions, it is worth understanding why hairpin legs are so prized by interior design enthusiasts. Hairpin legs - sets are characterised by:
- Versatility: They suit both modern and vintage settings.
- Sustainability: Made of metal, they are stable and can withstand the weight of solid tabletops.
- Aesthetics: Their simple but stylish form adds lightness to the furniture.
Project planning
The first step to making a hairpin legs table is to carefully plan out the design. Here's what you need to take into account:
- Worktop dimensions: Decide on the size of your table. Remember that hairpin legs work well for both small coffee tables and larger dining tables. The larger the top you use, the more hairpin legs you will need. For example, for round tops up to 100 cm in diameter, three legs are sufficient.
- Worktop weight: Glass, metal, wood or maybe plywood? The choice of material depends on your preferred style and the functionality of the table. Natural tops are sturdier and usually heavier than prefabricated materials. For heavy tops, over 50 kg, we recommend three-bar legs, with a rod diameter of 12 mm.
- Table height: hairpin legs - sets are available in different sizes and colours. Choose the ones that best suit your project. MORIA DESIGN has hairpin legs in its permanent range in 14 heights, from 10 cm to 95 cm.
How do you make a hairpin legs table yourself?
Here is a detailed step-by-step guide that will take you through the process of creating a table:
Material selection and tool preparation
Start by choosing the perfect countertop. Wooden worktops add warmth and naturalness, while glass or metal worktops bring a modern touch to the interior. Plywood or MDF worktops, on the other hand, are lighter and less expensive than those made from natural materials. Whatever you choose, make sure the material is the right thickness and strength.
Assembling the hairpin legs is trivial and requires no special preparation. You will need:
- Table top;
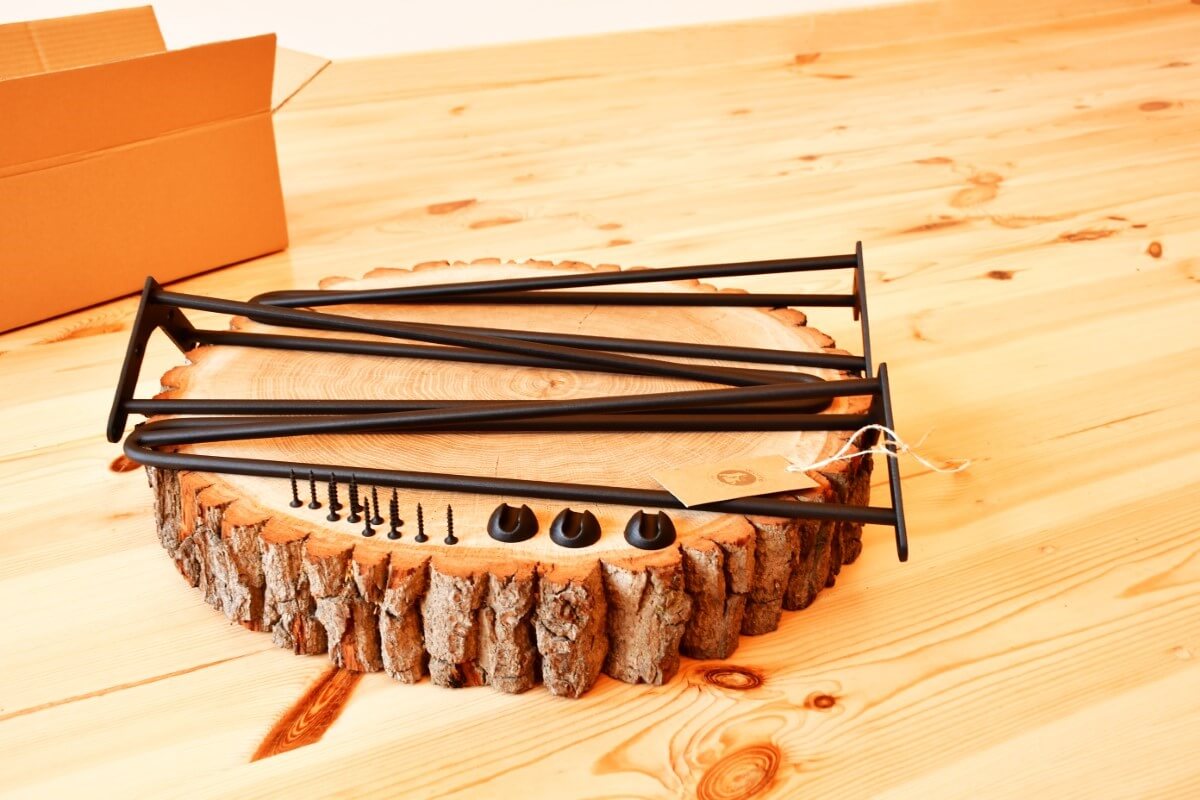
- Hairpin legs (sufficient number of legs with feet to protect the ground and mounting screws);
- Pencil;
- Measure;
- Hammer;
- Drill/driver;
- Optional: varnish or wood stain or paint.
Assembling the feet
- Measure with a measuring tape and mark with a pencil the places on the worktop where the legs will be fitted. It is important that they are evenly spaced in relation to the edge of the worktop.
- Using a pencil, mark the locations of the mounting holes in the countertop.
- Using a hammer and screw, gently score the marked mounting holes in the tabletop.
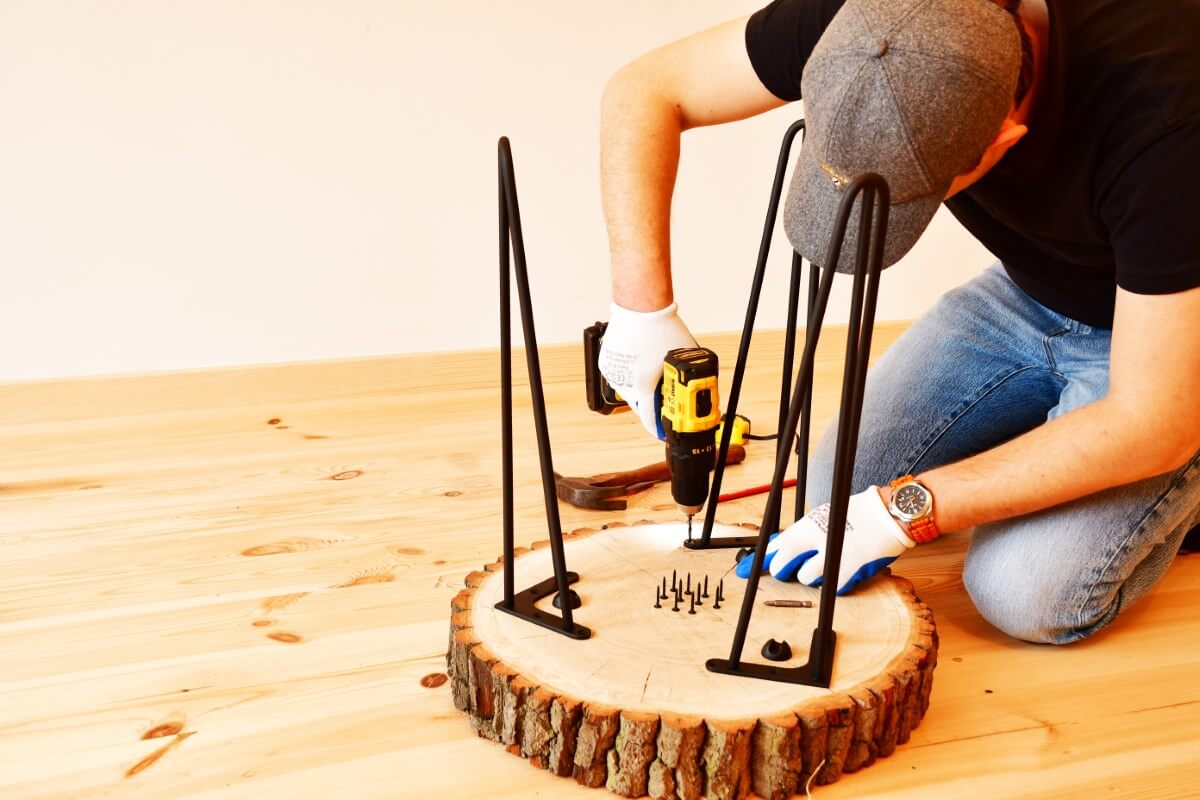
- Each of the legs, place in the designated location on the tabletop and, using a drill/driver, assemble the legs by screwing the screws into the previously indicated locations.
- Make sure the screws have been properly tightened and the feet are stable.
If you would like to find out how to quickly and efficiently size and install three hairpn legs in a wooden round top, made from a tree trunk, click here.
Finishing
If you have chosen a wooden worktop, you can protect it with a varnish or wood stain, which will not only enhance its natural beauty but also protect the surface from damage and dirt. For other materials, follow the manufacturer's recommendations for care and maintenance.
Key aspects of making a table with harpin legs
When creating a table for hairpin legs, pay attention to:
- Choice of countertop: Its size and material are crucial to the functional and visual aspect of the project.
- Choice of feet: hairpin legs - offer a variety of choices, adapt them to the style and size of your table. Pay attention to the height of the legs, the number of rods and their diameter. For example, for lightweight low coffee tables, two-bar legs with a 10 mm rod diameter may be appropriate, while for solid tables with a wooden top, you will use three-bar high legs with a 12 mm rod diameter.
- Installation accuracy: Precise measurement and assembly of the legs will ensure the stability and durability of the table. If you're doing this for the first time, don't hesitate to take a cue from the hairpin legs manufacturer.
- Finishing: Choose hairpin legs from manufacturers whose quality is proven and widely known among customers. Remember that protecting your worktop with varnish or paint not only adds to the aesthetics but also adequately protects the surface.
Summary
Making a hairpin legs table is not only a great way to express your own creativity, but also an opportunity to have a personalised piece of furniture that will last for years to come. Using hairpin legs kits, you have the basis to start your own DIY project that is sure to add character to any interior. Whether you're an experienced DIYer or this is your first project, remember that willingness, accuracy and creativity are paramount. When choosing hairpin legs, also remember that beauty is not only in the simplicity of the legs themselves, but also in the quality and aesthetics of their workmanship.
Discover the opportunities offered by proven products MORIA DESIGN. Take a look at our extensive collection of hairpin legs. We offer fast turnaround times, we advise, we make personalised designs to suit your individual expectations.